How to use MetaMask – Step-by-step Guide

MetaMask is a browser extension that combines all the features of major Ethereum wallets and runs DAPPs without any need to download the blockchain or install heavy client software.
This guide covers all the important MetaMask functions, from setting up a wallet to sending and receiving crypto assets.
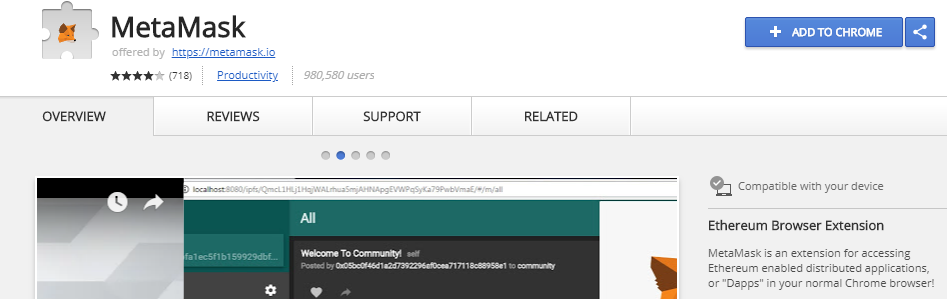
Installing MetaMask
MetaMask is available for Chrome, Firefox, Opera, and Brave browsers.
1. Go to MetaMask.io and select your browser.

2. Install the extension.
 3. Click the extension icon and read the privacy information carefully. Click Accept to continue.

4.Read the Terms of Use and click Accept again to continue to the registration screen, complete with a cool logo that follows your mouse pointer.
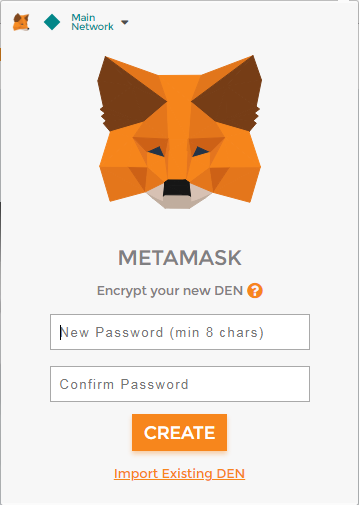
5. MetaMask calls your account a “DEN” or “Vault”. Enter a strong password and click Create to encrypt your account. You’ll see your seed phrase – the recovery key that can recreate your entire account if you ever lose access.

6. Write your seed phrase down or save it to a file. It’s better to write the phrase on paper and put it somewhere very safe, as computer files can be hacked. Click I’ve copied it somewhere safe to continue.
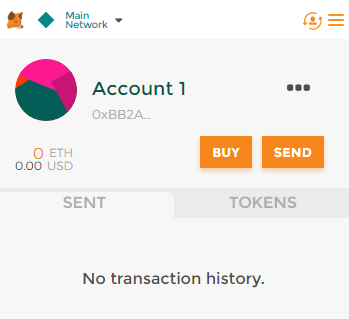
And you’re done! MetaMask automatically creates an Ethereum wallet for you and displays the basic account information.
Receiving Ether or Tokens
As with any crypto account, you don’t need to be logged in or have your wallet open to receive funds or tokens: the Ethereum blockchain maintains a public ledger of everything sent to your account. However, you need to log in to MetaMask to get your public wallet address.
Let’s assume you’re buying ether on CoinBase. When you get to the point where you have to enter your wallet address, follow these steps:
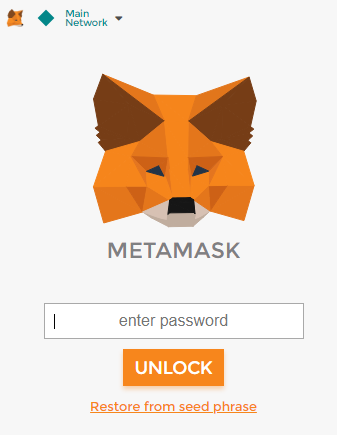
1. Click the MetaMask icon. If you’re not logged in (remember the security warning!), enter your password and click Unlock.
2. Click the ellipsis (…) next to your first account’s name. Select Copy Address to Clipboard (or Show QR Code to scan with a mobile device).

3. Paste the address into the CoinBase (or other) web page. Your wallet address is a long string of numbers and letters, starting with 0x. It should look something like this:
![]()
Your wallet address is like your bank account and branch numbers: it’s safe to share with anyone who wants to send you ether or tokens.
Sending Ether
MetaMask has a native interface for sending ether:
1. Log in to your MetaMask DEN.
2. Click Send.

3. Enter the recipient’s Ethereum wallet address and how much ether you want to send, then click Next. Note that MetaMask remembers the addresses to which you send ether, simplifying future transactions.

4. Check the details of your transaction carefully and click Accept to send your ether. Use either Reject or the back arrow next to the title to cancel.
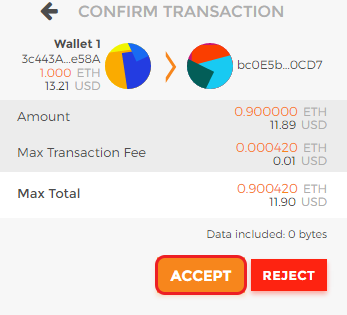
And your ether is on its way to the recipient.
Sending Tokens
Although you can receive tokens with your MetaMask wallet, the browser extension doesn’t yet have an interface for sending them. To send tokens from your wallet, you’ll have to use a third-party site such as MyEtherWallet.
1. Go to myetherwallet.com and choose the Send Ether & Tokens option. Select MetaMask / Mist from the list of unlocking options.

2. Make sure you’re logged in to MetaMask in your browser extension, then click Connect to MetaMask.
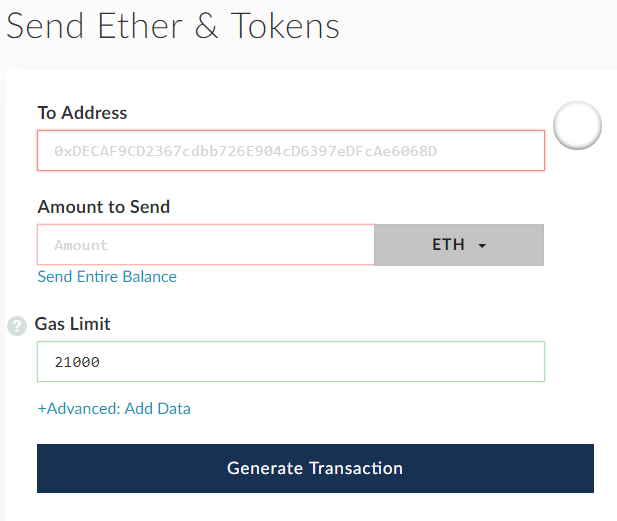
3. Paste the recipient’s address, enter the amount, and click the ETH dropdown to pick which token to send.

4. Click Generate Transaction to generate the data, then Send Transaction to see the confirmation pop-up.

5. Click Yes, I am sure! Make transaction. Your tokens are on their way!
Running DAPPs
MetaMask gives you access to Ethereum DAPPs right in your browser.
1. Make sure you’re logged in to your MetaMask DEN.
2. Go to metamask.io and scroll down to the State of the Dapps logo. Click it.

3. Pick an app from the list of live options to see the full details.

4. Click Visit website to play the game or use the app. It’s as simple as that!
Recovering Your Vault
If the worst happens and you lose access to the accounts in your MetaMask Vault, you’ll need your seed phrase from when you set up. You did keep it somewhere safe, didn’t you?
1. Click the MetaMask extension icon and choose Restore from seed phrase.

2. Type your twelve-word seed phrase into the text box. Choose a new password and click OK.

3. And that’s it: your MetaMask account is restored. You’ll see your account information as before.
