How to Use Ethereum Mist Wallet – Step-by-step Guide
Mist is the official Ethereum wallet, developed and distributed by the people who are responsible for managing the Ethereum ecosystem’s future. It makes a lot of sense to use the official wallet, especially if you’re a developer who wants to create, deploy, and use smart contracts.
However, Mist is a full node wallet, which means you’ll have to download the entire Ethereum blockchain to your computer. Right now, that’s around 15Gb of data and it grows every month.
This guide covers the fundamental Mist functions, from setting up a wallet to synchronizing, sending and receiving assets.
The company was created as a combined effort of financial professionals and experts in web-commerce with the goal of perfecting the online experience for retail traders.

82% of retail investor accounts lose money when trading CFDs with this provider. You should consider whether you can afford to take the high risk of losing your money
Plus500 is a FTSE 250 listed brokerage providing online trading services in CFDs, across 2,000+ securities and multiple asset classes.
Don’t invest unless you’re prepared to lose all the money you invest. This is a high-risk investment and you should not expect to be protected if something goes wrong. Take 2 mins to learn more
Installing Mist
Mist is available for Windows (both 32- and 64-bit), Mac, and Linux (32- and 64-bit).
1. Go to ethereum.org and scroll down to the wallet information.
2. Click See all versions. You’ll see a popup with important security information. Click Sure I understand and agree to continue to the official GitHub.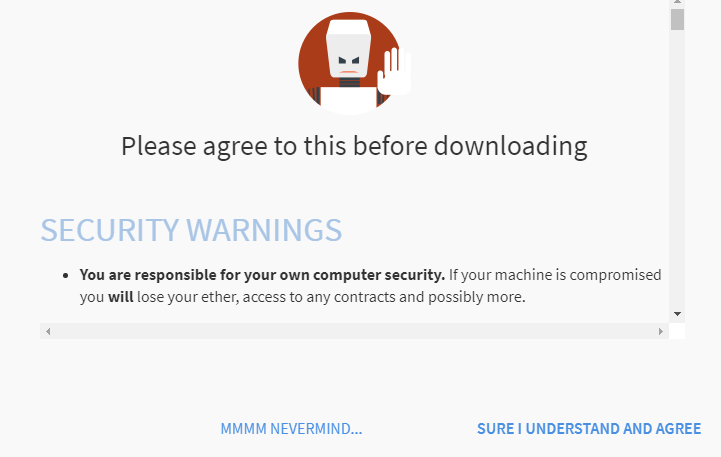
3. Choose the correct version from the list of available installers.
4. Run the installer, read the license terms and choose your installation/data folders, as usual. Remember you’ll need a lot of space for your data!

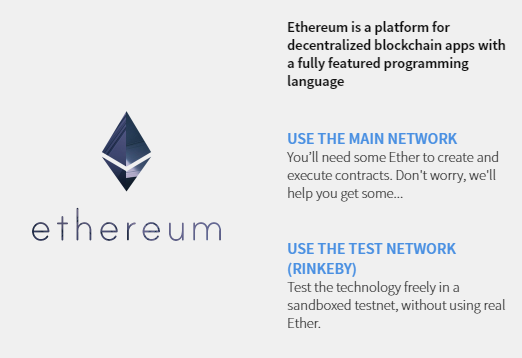
5. Launch Mist. The program will download a few small updates, then ask which blockchain to use. You want the Main Network.
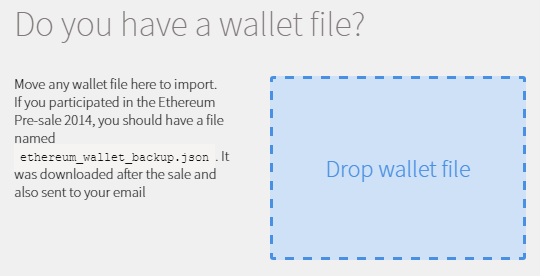
6. If you have a wallet file from a previous installation or from the Ethereum pre-sale, drop it on the import tool. If not, click Skip and Mist will create a new wallet for you.
7. If you’re starting a new wallet, enter a strong password or key phrase.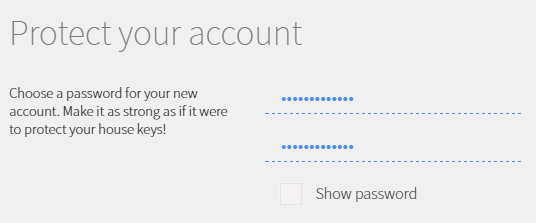
8. Now, you wait. Mist must synchronize by downloading the blockchain, which will take several hours on most computers. The installer starts synching while you enter information and suggests reading material to pass the time while it finishes.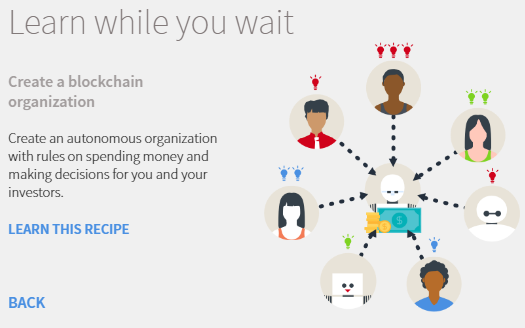
9. You don’t have to download the whole blockchain at once. You can start Mist another time and it’ll pick up from where it finished the last time you launched!
Receiving Ether or Tokens
As with any crypto wallet, you don’t need to be logged in or have Mist open to receive funds or tokens: the Ethereum blockchain maintains a public ledger of everything sent to your wallet.
To find or create a public wallet address, follow these steps:
1. Launch Mist and click the Accounts Overview button.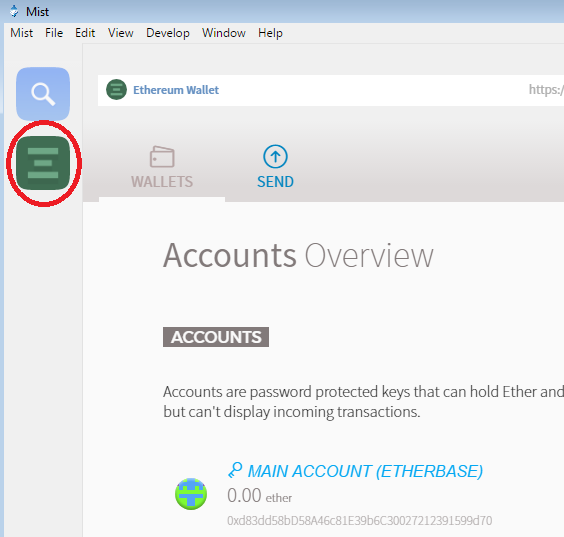
2. Click the account for which you wish to get your public address. You can also click the Accounts Overview button and select the account to view from the sub-menu.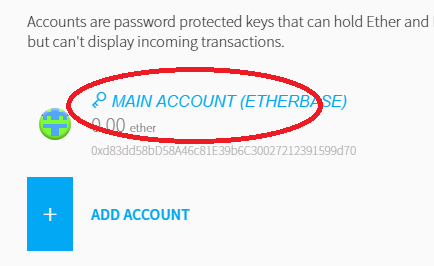
3. Your public address is the long string of characters that starts with 0x. Highlight it and copy, or select Copy address from the sidebar.
Paste your address wherever required to receive funds (e.g. when purchasing ETH on CoinBase). Your wallet address is like your bank account and branch numbers: it’s safe to share with anyone who wants to send you ether or tokens.
Sending Ether
1. Launch Mist and select the wallet from which you wish to send Ether.
2. Click Send.
3. Enter the recipient’s Ethereum wallet address and how much ether to send. You can’t enter anything in the From address: the icon represents your account.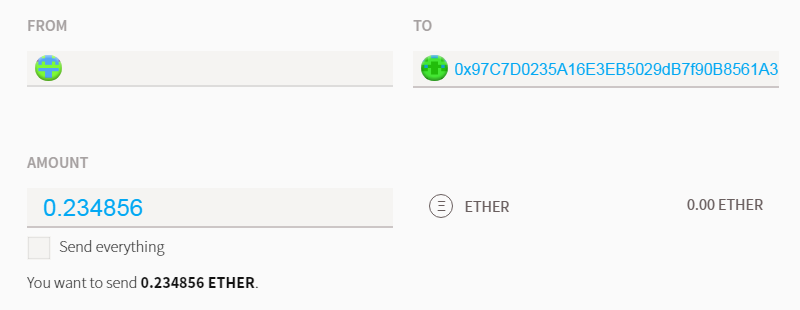
4. Don’t use the Show more options button unless you know how to use additional transaction data, and don’t adjust the gas price (it doesn’t make sending ether any quicker).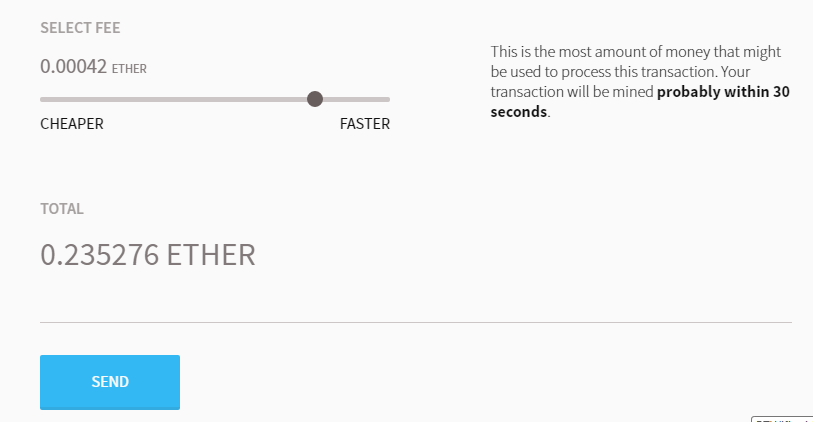
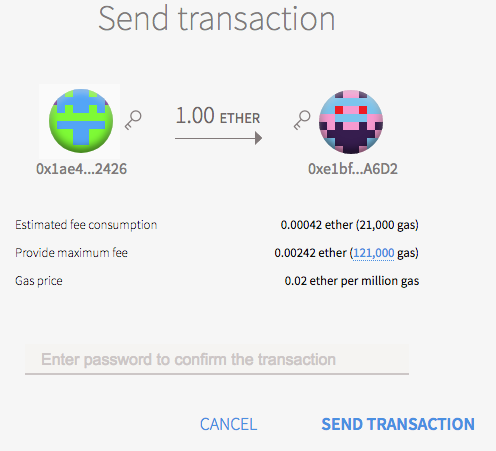
5. Click Send and you’ll see a confirmation dialog. Enter your password and click Send transaction. Your ether’s on its way!
 (image from Medium.com)
Sending Tokens
You can both send and receive tokens with your Mist wallet. However, the process for sending tokens is very complicated and unfriendly.
We recommend managing your tokens with MyEtherWallet, which is designed to handle them with ease.