How to Use Ledger Nano S Hardware Wallet – a Step-by-step Guide
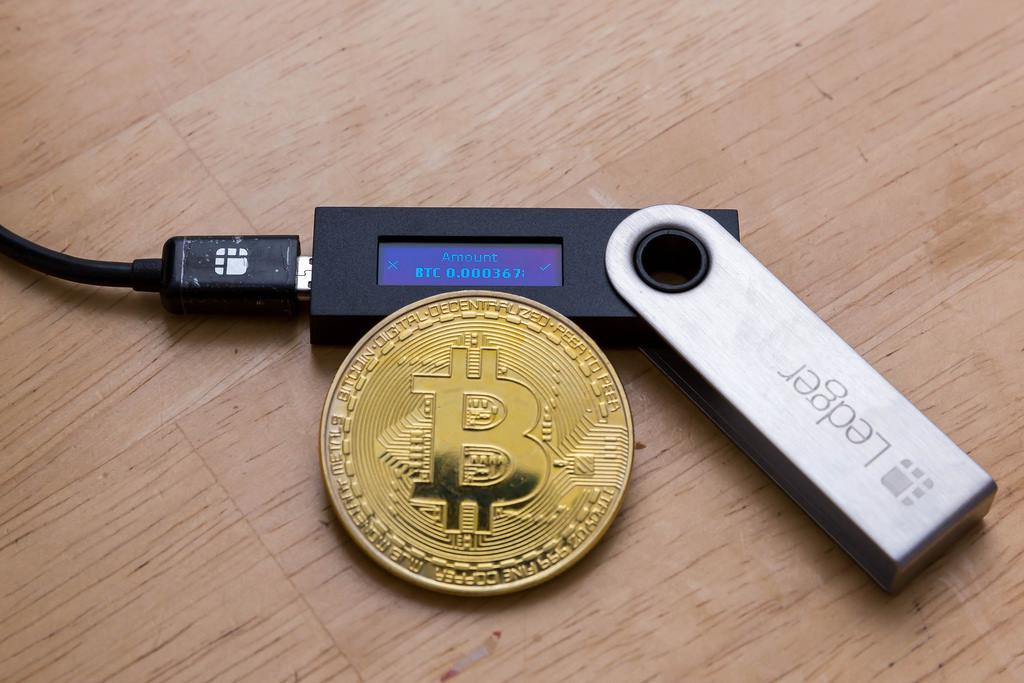
The Nano S is a hardware wallet from Ledger. Costing around $100, it’s designed to keep your bitcoins, ether, and altcoins safe by storing your wallets offline and signing transactions without transmitting any private data.
This guide looks at all the essentials you can perform with your Nano S, from setting up to security, and sending and receiving coins.
Setting Up
The first thing you’ll notice is that the box has no security seal. That’s deliberate: Ledger proudly state that the device is unhackable, so no seal is required!
1. Connect your Nano S to your device’s USB slot. The hardware wallet has no internal power source, so you must connect it to use it.
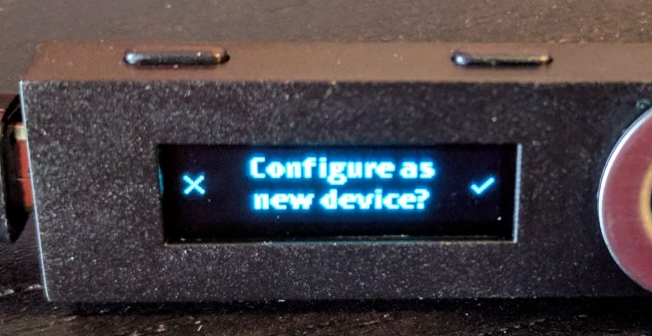
2. The device asks if you wish to Configure as new device? Use the right hardware button to confirm (the tick mark).
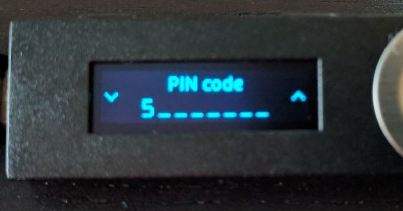
3. Press both buttons at the PIN prompt to set your PIN, which can be 4 to 8 digits long. After the first 4 digits, the default changes to a check mark (to finish): cycle past it with the left or right button to select more numbers. Press both buttons on the check mark to finish.
Tip: don’t choose “5555” as your PIN. The device defaults to 5 for each digit, making it the easiest combination to guess!
4. Your Nano S now displays your 24-word “seed” phrase, one word at a time. If your hardware wallet is lost, damaged, or stolen, you can use this phrase to rebuild.
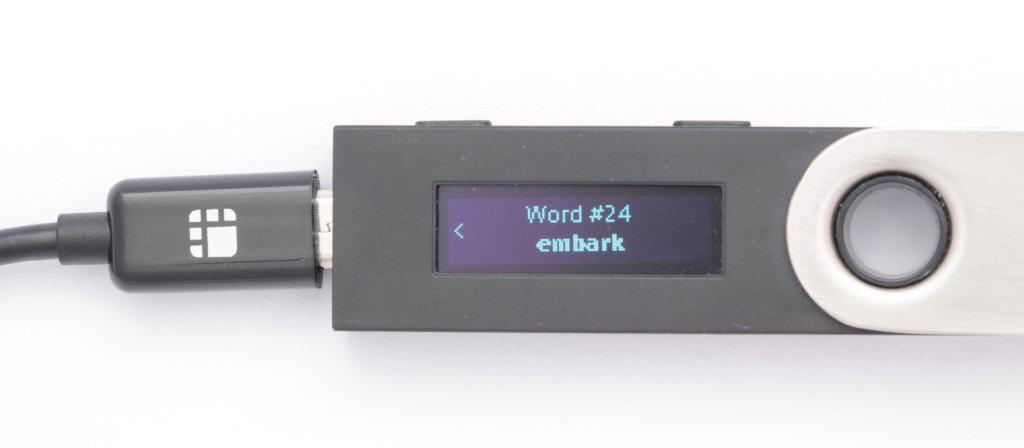
You must write your key phrase down and keep it somewhere very safe. Don’t put it in a hackable digital file: write it on paper and put it away.
You’re all set: your Nano S is ready to send and receive crypto!
Restoring a Wallet
If you’re setting up a replacement (or backup) Nano S, follow these steps:
1. Connect your Nano S to your device’s USB slot.
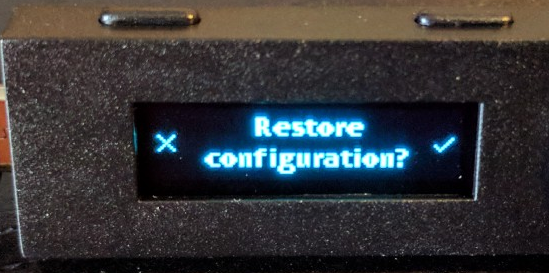
2. The device asks if you wish to Configure as new device? Use the left hardware button to decline (the cross).
3. Choose Restore configuration by pressing the right button.
4. Set your PIN, the same as in step 3, above.
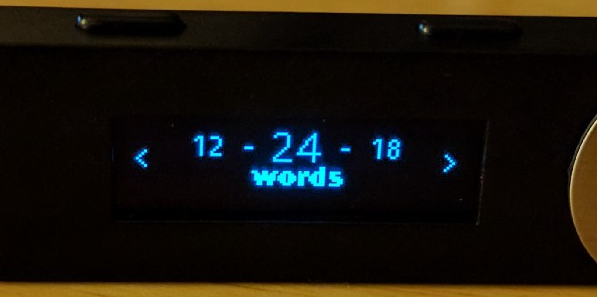
5. Choose how many words are in your recovery phrase – 24 if you’re moving a wallet from a previous Nano S.
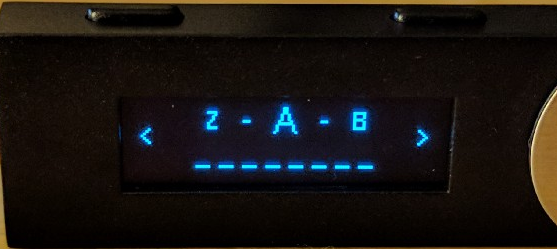
6. Now the tedious part: you have to enter each word of your seed, one letter at a time, by cycling through the alphabet with the left and right buttons. Work steadily and carefully… you don’t want to mess up and start again!
7. Once your key phrase is finished, your wallet is ready for use.
Installing Apps
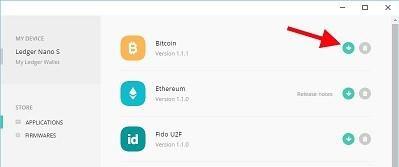
The Nano S is one of the most flexible hardware wallets available. It comes with apps for Bitcoin, Ethereum, and FIDO two-factor authentication installed, but you can add many crypto assets.
Whether you’re buying Litecoin on CoinBase, trading in Ripple, or investing in NEO, there’s an app to create and manage a wallet on the Nano S.
1. The Nano S can hold 5 apps. When you remove an app, the wallet stays. For example, if you have Bitcoin, Ethereum, Ripple, Litecoin and NEO on your device, then want to add Stratis, removing the Litecoin app will not affect your Litecoin wallet.
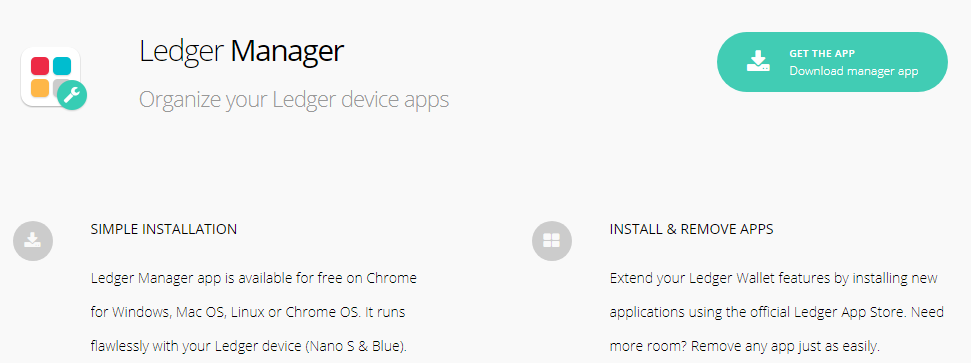
2. Install the Ledger Manager.
2. Connect your Nano S, enter your PIN, and run the manager on your browser.
3. To install an app, select the green download arrow.
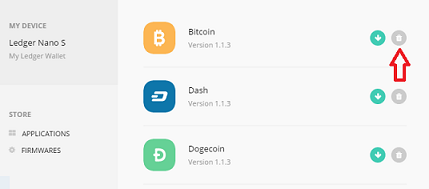
4. To remove an app, select the grey trash can. Your wallet for that currency is not affected.
5. To update an app, remove the version on your Nano S, then install the new version.
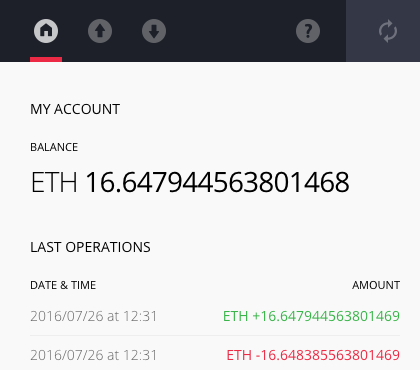
Receiving Crypto
When you buy crypto assets such as Ripple on CoinBase or a similar site, you need your wallet address (also called the “public key”). Blockchain design means you don’t need to connect your Nano S to receive, but you do need to connect it to find your wallet address!
1. Connect your Nano S and enter your PIN.
2. Open the application for the currency to receive on the hardware wallet.
3. Open the same application on the browser.
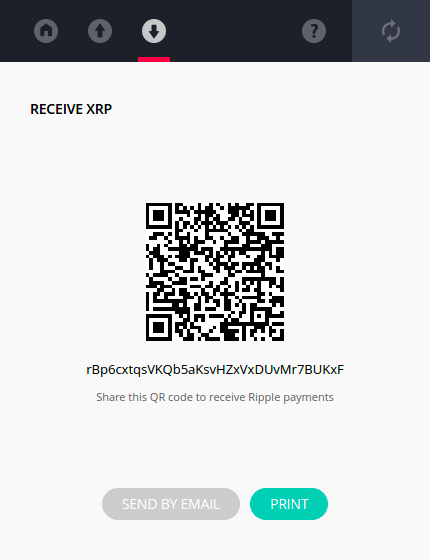
4. Click Receive (the down arrow) on the browser app to see your wallet address and a QR code for easy scanning.
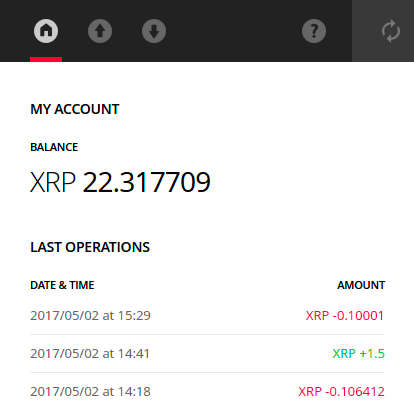
5. Any funds sent to this address will go to your Nano S. Your hardware wallet will automatically synch transactions the next time you connect it.
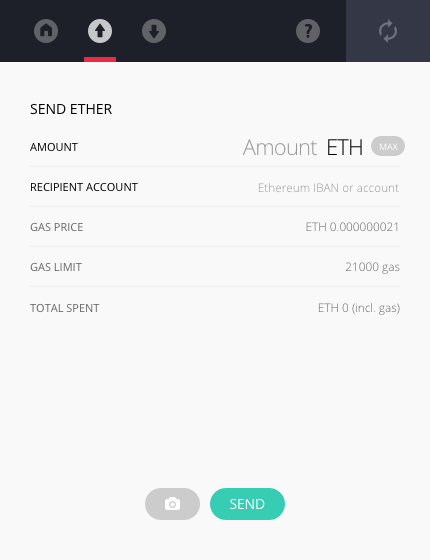
Sending Crypto
1. Connect your Nano S and enter your PIN.
2. Open the application for the currency to receive on the hardware wallet.
3. Open the same application on the browser.
4. Click Send (the up arrow) on the browser app.
5. Enter the recipient’s wallet address and the amount to send, then press Send.
6. Confirm the transaction on your Nano S by using the right button to select the check mark.
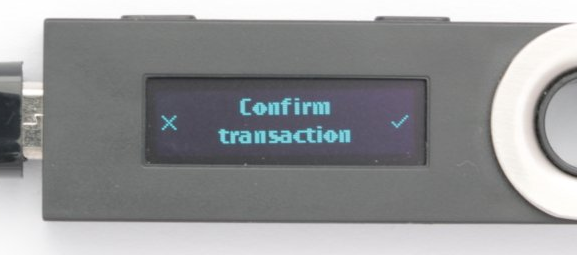
And that’s it!
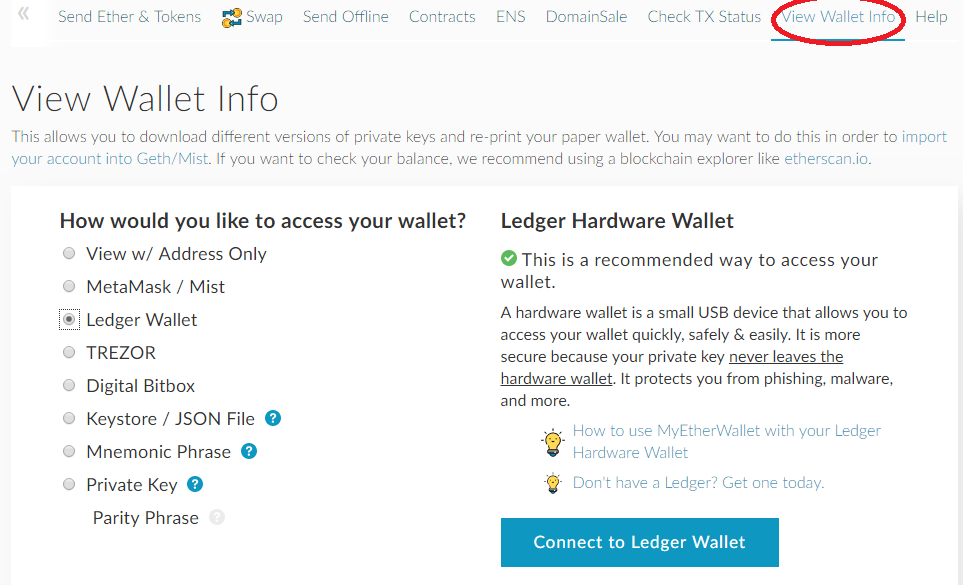
MyEtherWallet for Ethereum
The Nano S comes with a native app for the Ethereum blockchain but you can also use the device with MyEtherWallet to manage ether and tokens.
1. Go to myetherwallet.com and select the View Wallet Info option. Do NOT create a new wallet: your Nano S already has one.
2. Choose Ledger Wallet from the unlocking options on the site.
3. Connect your Nano S and enter your PIN.
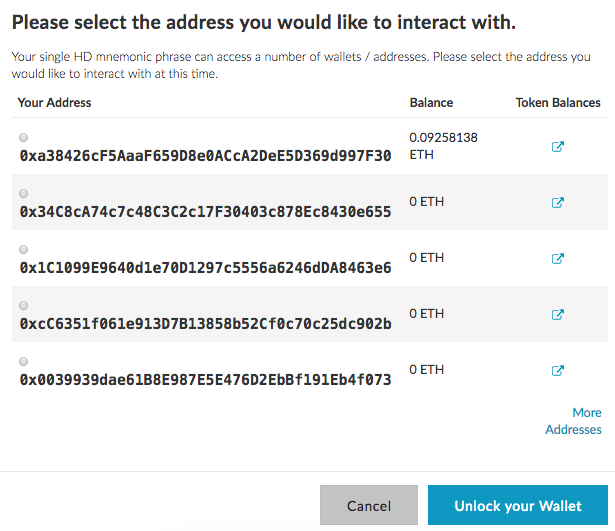
4. Click Connect to Ledger Wallet. You’ll see a pop-up list of the wallet addresses on your Nano S. Select the one you wish to use and click Unlock your Wallet to continue.
You can receive without plugging in your Nano S: just send assets (ether or ERC20 tokens) to the wallet address. Sending works in a similar way to using the native Ethereum app: check out our MyEtherWallet guide for full details!